
Views: 235 Author: Nancy Zhang Publish Time: 2026-01-16 Origin: Site


Content Menu
● Understanding the Components
● Step-by-Step Guide to Removing the Track
>> Step 1: Release Track Tension
>> Step 2: Locate the Master Pin
>> Step 3: Remove the Master Pin
>> Step 4: Remove the Track from the Idler and Sprocket
>> Step 5: Move the Crawler Off the Track
>> Step 6: Inspect the Track and Components
>> Selecting the Right Replacement Track
● Maintenance Tips for Track Longevity
● Common Causes of Track Damage
Removing the track from a 1970 John Deere (JD) crawler is a task that requires careful planning and execution. Whether you are performing maintenance, replacing worn tracks, or conducting repairs, understanding the proper steps is essential for a successful removal. This guide will provide you with detailed instructions on how to safely and effectively remove the track from your 1970 JD crawler.
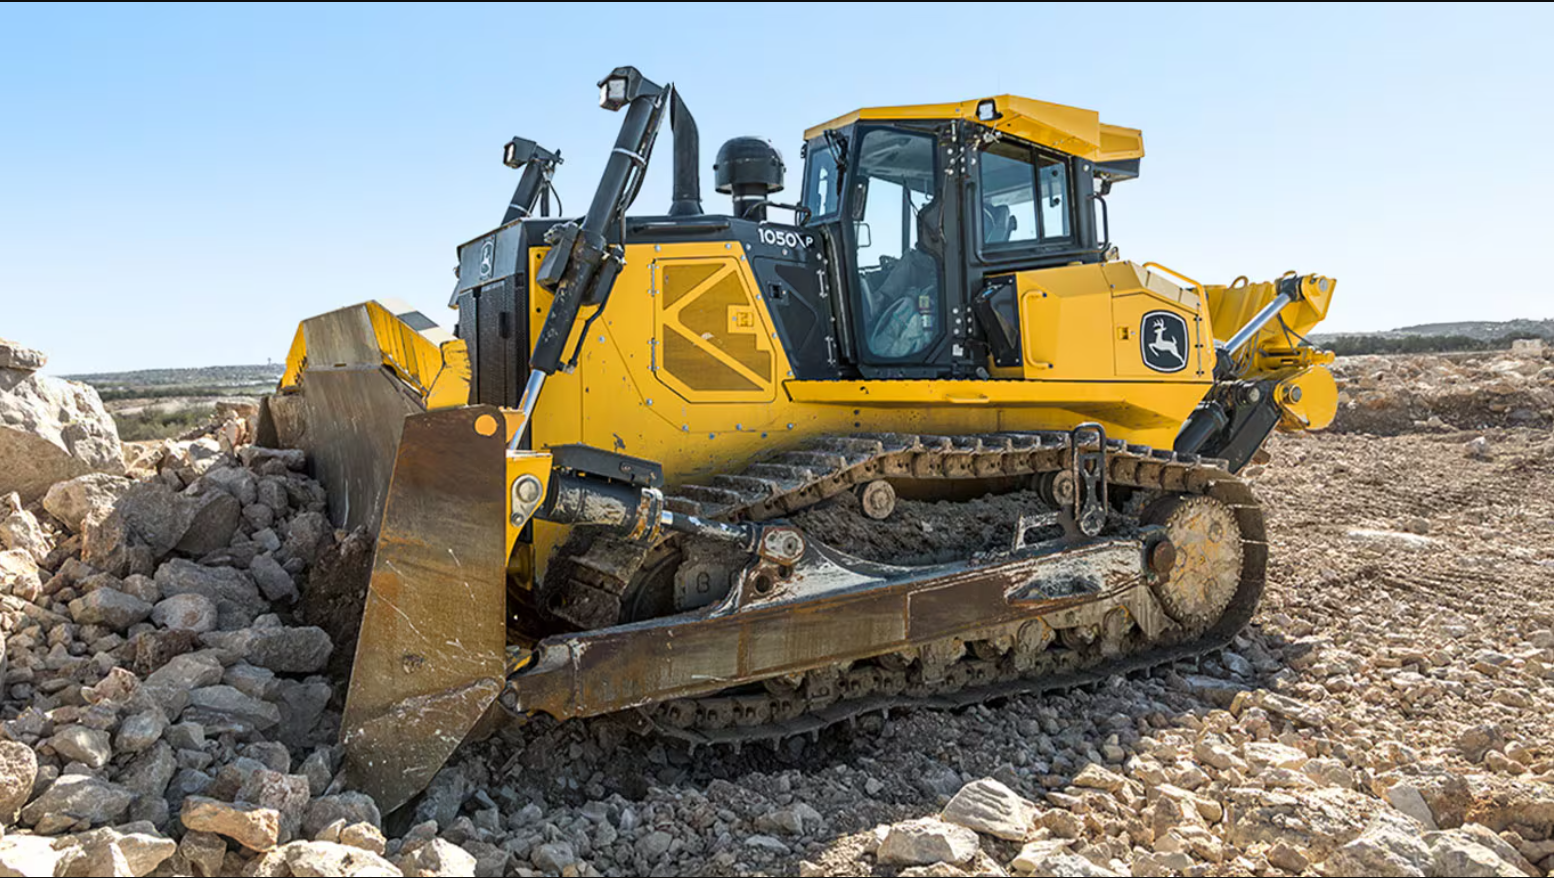
The 1970 JD crawler is a robust piece of machinery designed for various applications, including construction and agricultural tasks. It features a track system that provides excellent traction and stability on uneven terrain. Understanding the components involved in the track system is crucial for a successful removal process.
Track Links: The individual segments that make up the track.
Master Pin: A special pin that connects the ends of the track links.
Idler: The wheel at the front of the track that helps guide the track.
Sprocket: The toothed wheel that drives the track.
Track Adjuster: A mechanism used to maintain the proper tension in the track.
Before starting the removal process, it is essential to take safety precautions. Ensure you are wearing appropriate personal protective equipment (PPE), including gloves, safety glasses, and steel-toed boots. Additionally, make sure the crawler is on a flat, stable surface to prevent any accidents during the removal process.
Gather the necessary tools before beginning the removal process. You will need:
Wrenches and sockets
Pliers
A sledgehammer
A soft metal drift pin
A pry bar
A block of wood
A hydraulic jack (if necessary)
The first step in removing the track is to release the tension. This can be done by adjusting the track adjuster. Locate the adjuster and turn it counterclockwise to loosen the track. If your crawler has a hydraulic track adjuster, you may need to loosen the vent screw to allow the hydraulic fluid to escape, which will relieve tension in the track.
Once the track tension is released, locate the master pin. The master pin is typically larger than the other pins and may have a locking device or hole drilled in its end. It is essential to identify this pin, as it is the key to disconnecting the track.
To remove the master pin, you may need to use a sledgehammer and a soft metal drift pin. Position the drift pin against the end of the master pin and strike it with the sledgehammer to drive the pin out. If the master pin has a locking device, remove it first before attempting to drive the pin out.
With the master pin removed, you can now begin to remove the track from the idler and sprocket. Carefully guide the track off the idler wheel by lifting it slightly and pulling it away. You may need to use a pry bar to help lift the track over the sprocket. Be cautious during this step to avoid damaging the track or other components.
Once the track is free from the idler and sprocket, slowly move the crawler forward or backward to pull the track away from the machine. Ensure that no one is in the way of the crawler or the loose end of the track as it falls off. It is advisable to have a second person assist you during this process to ensure safety.
After removing the track, take the time to inspect the track and other components for wear and damage. Check the sprocket, idler, and track frame for any signs of excessive wear or misalignment. This inspection is crucial for ensuring the longevity of your crawler and preventing future issues.
When it comes to replacing the track, it is essential to select the right replacement that matches the specifications of your 1970 JD crawler. Consult the manufacturer's guidelines or a trusted supplier to ensure you are purchasing the correct track.
To install the new track, follow these steps:
Position the Track: Lay the new track next to the crawler, ensuring it is oriented correctly.
Guide the Track onto the Sprocket: Carefully guide the track over the sprocket, ensuring it fits snugly.
Align the Track with the Idler: Lift the track and position it over the idler wheel.
Insert the Master Pin: Once the track is in place, insert the master pin to connect the ends of the track. Ensure it is securely fastened.
Adjust Track Tension: Use the track adjuster to set the proper tension in the track. This step is crucial for optimal performance.

To ensure the longevity of your crawler's track, perform regular inspections. Check for signs of wear, such as cracks or missing links, and address any issues promptly. Regular maintenance can prevent costly repairs and extend the life of your equipment.
Ensure that all moving parts, including the idler and sprocket, are properly lubricated. This will reduce friction and wear, helping to maintain the efficiency of your crawler. Use a high-quality lubricant that is suitable for heavy machinery to ensure optimal performance.
Maintaining the correct track tension is vital for optimal performance. Regularly check the tension and adjust as necessary to prevent slippage or excessive wear. A well-tensioned track will provide better traction and reduce the risk of damage.
Dirt and debris can accumulate in the track system, leading to wear and potential damage. Regularly clean the track, idler, and sprocket to remove any buildup. This will help maintain the efficiency of the crawler and extend the life of the components.
Over time, tracks can experience wear and tear due to regular use. Factors such as rough terrain, heavy loads, and improper tension can contribute to accelerated wear. Regular inspections and maintenance can help identify issues before they lead to significant damage.
Tracks that are too loose or too tight can lead to premature wear. A loose track may slip off the sprocket, while a tight track can cause excessive strain on the components. Regularly check and adjust the track tension to ensure optimal performance.
Operating in harsh environments, such as muddy or rocky terrain, can increase the risk of track damage. Debris can become lodged in the track system, leading to wear and potential failure. Be mindful of the operating conditions and adjust your maintenance routine accordingly.
Removing the track from a 1970 JD crawler is a straightforward process when approached with the right knowledge and tools. By following the steps outlined in this guide, you can safely and effectively remove and replace the track, ensuring your crawler remains in excellent working condition. Regular maintenance and inspections will further enhance the longevity and performance of your equipment.
What tools do I need to remove the track from a JD crawler?
You will need wrenches, pliers, a sledgehammer, a soft metal drift pin, a pry bar, and a block of wood.
How do I know if my track needs to be replaced?
Signs of wear, such as cracks, missing links, or excessive stretching, indicate that the track may need replacement.
Can I remove the track by myself?
While it is possible to remove the track alone, having a second person assist you is recommended for safety and efficiency.
How often should I inspect my crawler's track?
Regular inspections should be performed every few months or after heavy use to catch any potential issues early.
What should I do if the master pin is stuck?
If the master pin is stuck, try using penetrating oil to loosen it, and then use a sledgehammer and drift pin to drive it out.


